Sunday, August 28, 2011

Honoring a great man

It's been a week since my last post..and a whirlwind at that! I worked on a custom piece (that I gave you a sneak peek of on the last post) that is almost finished. I will post that in a few days- I promise.

Besides the first week of school for the kiddos, I worked on a hand painted sign to donate for silent auction at the James Justice Memorial Golf Tournament. A truly great man and my husband's best friend of 30 years, James gave his life for our freedom in April of this year. We had a wonderful time golfing and spending time with friends and family while honoring his life and the sacrifices he made for our country. (Never forget to thank a soldier!)

Ok, before I fall apart totally- back to the painted sign. I found a really cool website that displayed this sign and I LOVED it and I think James would have loved it, too (he was a wonderful, rowdy, fun-loving guy) so I thought it appropriate for this occasion. I did "borrow" ;) this idea so I have to give credit to Marty Mummert for this nice design http://mummertsignco.com/.  

                                                                 Now on to the how to...

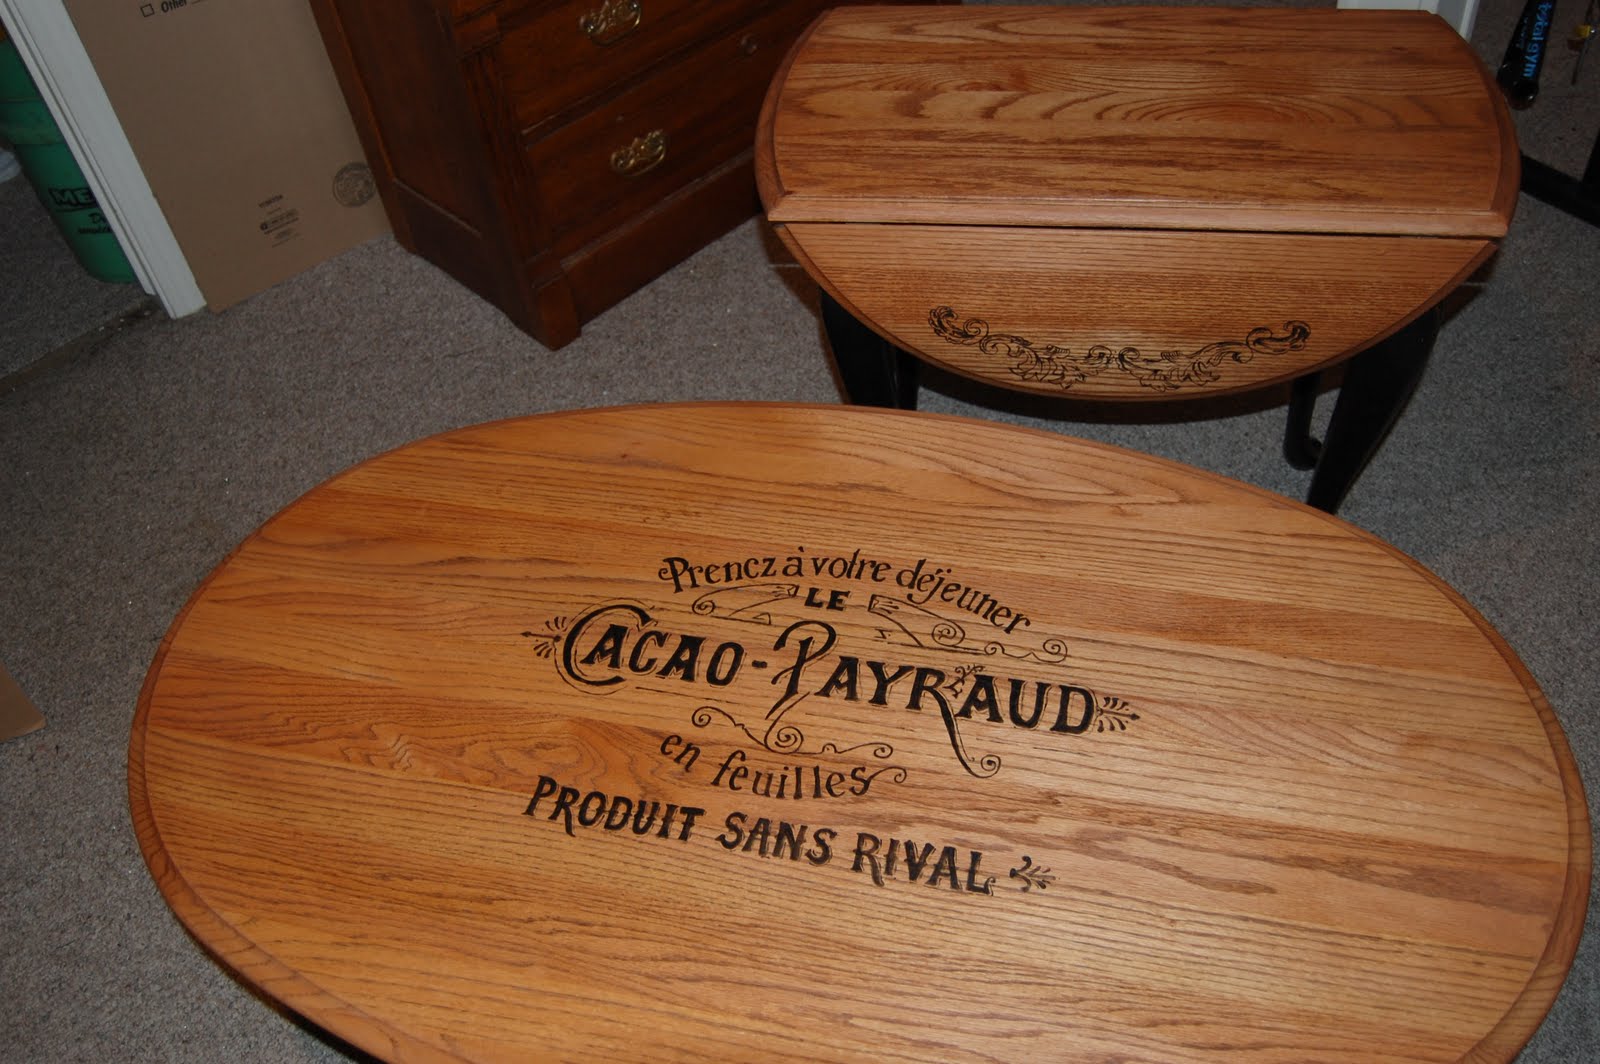
First I decided how big I wanted the sign to be. It is meant to look like the top of a whiskey barrel. So I found a good template (a large garbage can we use for pop cans :) ), then gathered several pieces of scrap wood that were the same thickness (1 inch in this case) but could vary in width, for added interest. I laid them out together, put the template on top and drew around it. My wonderful assistant (aka my mom), helped me cut out the separate pieces with a a jig saw. We then turned the 'barrel top' over and screwed in two parallel 1x2 pieces into the back to hold the pieces together, ensuring to put a screw into each individual board.
I then used the hand sander to soften up the edges and remove any rough spots. Followed by a coat of paint. Not sure of the color because I got it for free at a garage sale and it doesn't say the color. It is a sort of dark/slate blue. I then printed out the picture from the web (in black and white) but the copy was sort of gray looking and the lines weren't very vivid, so I traced around the lettering in a dark pen. Next I went to the copy store and had a transparency made. Then was the tedious work- measuring the middle of the sign to line up the image. After doing that..several hours of handpainting the image (but totally worth it!) using acrylic paint in white and shadow letters in a dark yellow. The end result was very nice, but looked too 'new,' so I wiped on Minwax Dark Walnut stain and wiped off immediately. That gave it the darker, aged look I was looking for. I finished her up with a coat of clear wax and voila- complete!

It went over very well and James' wife ended up buying it. So James will have it after all, which makes me very happy.


Saturday, August 20, 2011

Custom Project

Happy weekend!! I love the weekends- not because I don't have to work (parenting is definitely 24/7) but because I have more help on the weekend which usually means more time to work on furniture!
So this weekend I am working on a custom project for a client using a piece that I currently have. They wanted a multi-functional craft/storage unit that will fit in with their dining room furniture. I actually bought two of these matching stands. Here it is before.... (blah!). They even had one knob that was different?!

I already refinished one in black with gray glaze. Still not sure about it- just doesn't seem quite right. Anyway, they came to see that one but decided it didn't fit with their colors. Instead, they want a cream base with a natural, stained wood top. Wellll, a bit of a problem there. The wood on this isn't quality. It's a sturdy piece but not one that can be stripped and stained. As a side note- when looking for a good deal on your furniture- always look for a solid wood piece if possible (more on that later).

So I have been on an adventure to figure out a way to make a faux wood top. Let me rephrase: a GOOD faux wood top. I will reveal in a few days. I know you are on the edge of your seat in anticipation!

Enjoy your weekend...

Thursday, August 18, 2011

Day One!

So exciting! My very first blog entry, although I realize that at this point I am writing only to myself since no one is even aware of my blog yet. Well, I hope that changes soon!

A little bit of background- I am currently a stay-at-home mom, which wasn't intentional, but a blessing just the same. I have done many DIY projects over the years but have ramped up since I've been home and have found that I am very passionate about design. Who knew?! Anyway, I have completed many furniture "re-dos"- finding old, outdated and unloved furniture on the cheap and giving them new life. I'm including pictures (albeit the quality is less than ideal-I hope to improve that once I have some down time) of some of my previous pieces, and I promise to write about my future pieces as well, but with more direction as to how I did them.

Bare with me as I explore this new blogger world. There are still so many things I want to change and I'm sure there will be some mistakes and missteps along the way.
                            French coffee table using the wonderful graphics from The Graphics Fairy.
                                         Dresser done in Slate colored milk paint and distressed.
        Another Graphics Fairy find, painted on an old cupboard door.
This was originally a little boy's hunter green dresser. He was hard on it..really hard on it. It wasn't worth salvaging the bottom drawers, so with the help of my wonderfully talented mom, we gave it a new life. Wouldn't it be SO cute as a changing table (with the safety ledge on top, of course!)
Light blue side table with white peeking through. Very lightly distressed. Reminds me of the beach...mmmm.
Antique white wardrobe/armoire with antiquing and medium distressing.
This is one of my favorites, and one I might be the most proud of. My mom and I worked on this one together. The top was a laminate MESS! Removed all that and re-finished it. I really like the wood/white contrast.

Well, let me know what you think so far!