Yep, you can paper mache just about anything.
In this case my mom was about to get rid of two barstools that she thought were at the end of their lives. They had a big, heavy back but the grandbabies (yes, my kiddos) would often tip over in them. Not good. So after removing the backs we were left with a simple stool, but with a hole-laden, unfinished top. Not pretty, but I just couldn't see throwing perfectly good, solid wood stools out. I finally found some of the before pictures.


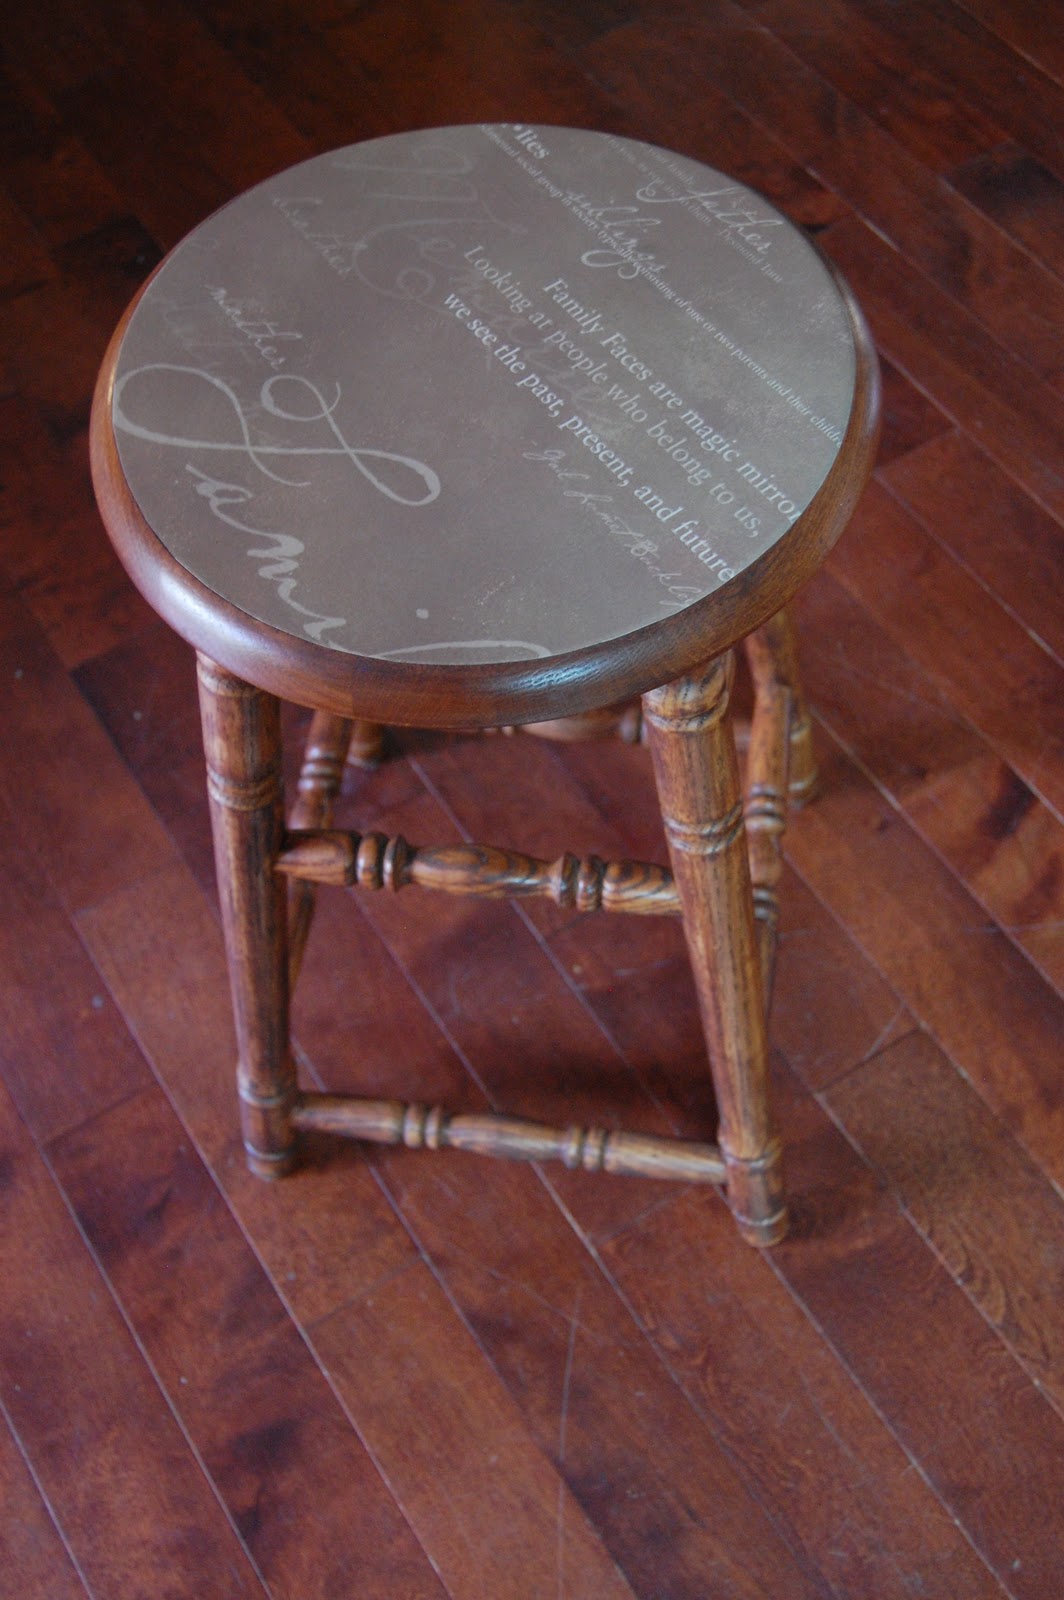
The stools were a golden oak color that matched the kitchen, however, since my parents replaced their flooring with a red mahogany look, I thought the stools should match. I prefer dark woods anyway, so that's what they were getting. Lucky for me, the finish was wearing off, as was the stain. That's a good thing only when it means less work for me! I gave them a light sand to get the remaining stain off, then wiped them down to remove all dust. I stained them with Minwax Red Mahogany stain. Now I was getting somewhere. Except the top was still a mess. Hmm... I had to cover it in some way. I couldn't simply fill the holes with wood putty because it would show up when I stained it. In comes the paper mache!
I found some pretty scrapbook paper at Michael's that had a 'Family' saying on it. Perfect! Still, the holes had to go or my monsters someone would inevitably poke something through the paper eventually. So with the help of my trusty, motherly assistant we cut some small dowel rods down to fit in the holes. Add a little wood glue and problem solved! After allowing it to dry, it was on to the paper mache.

I flipped the stool upside down onto the paper that I had placed on the counter. Draw around the circle top and you have a near perfect cut out. However, if you buy a piece of decorative paper that has words on it make sure to align the stool to the wording so that you can read it when it's finished. I had a bit of a time with this since my paper wasn't big enough to adjust the wording any further. Next, put a layer of Mod Podge on the back of the paper with a foam "brush", flip it upright, and center it on your stool. Smooth out any bubbles very carefully and quickly. I then put another layer of Mod Podge on top. Again, work quickly when smoothing the paper. After it dries do another two to three coats to seal and protect the top.

Tips and warnings: If you mess with the paper too much while it's wet you will tear the top layer of paper off. I tell you this from experience. I ended up tearing a piece off entirely and starting over. Ugh! So, if you see some bubbles while it's drying... leave.them.alone!! It is normal to have some bubbles while still wet. So wait until it's dry and then take a look. If you still have some bubbles I either slit it with a sharp razor blade (not the kind you shave with) or poke it with a small needle and then put a bit of Mod Podge in the hole, then press down.
No comments:
Post a Comment